Guides
How to install a garbage disposal
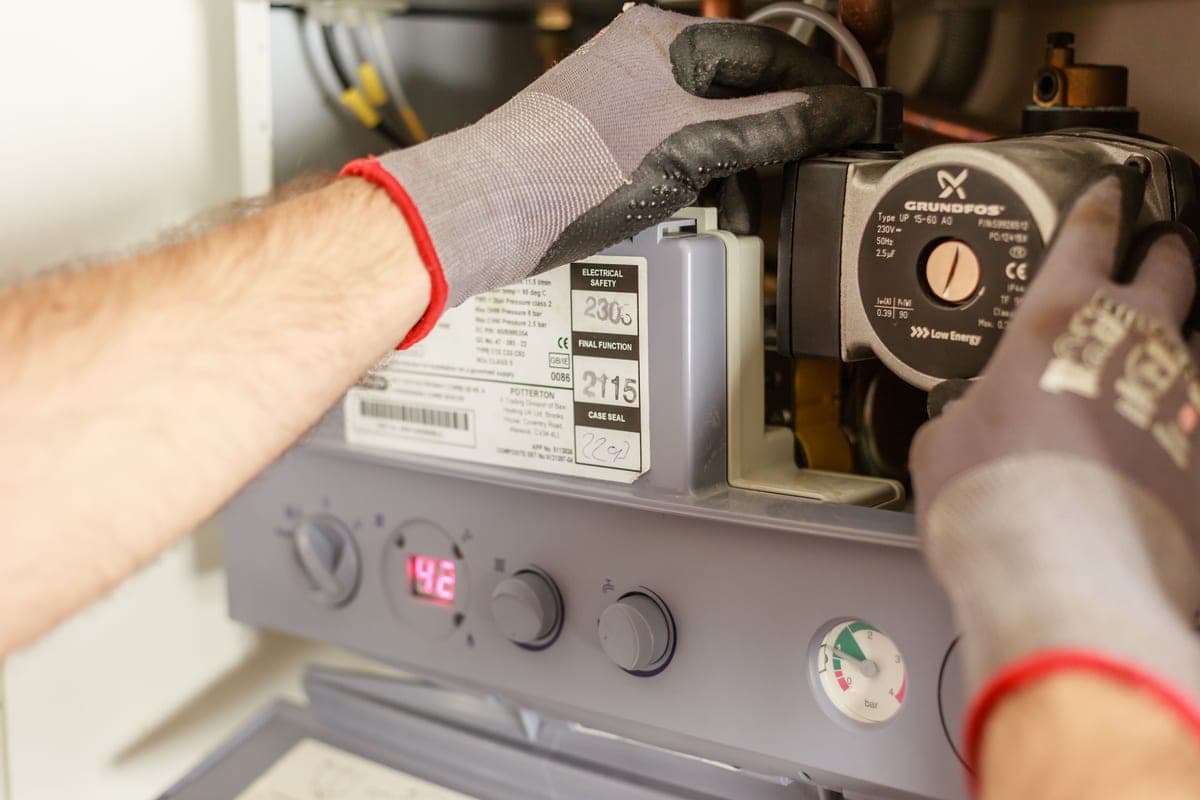
The mechanical part is simpler than it looks. The two things that catch people are the trap geometry and the dishwasher plug nobody mentions.
Disclosure: we earn a commission if you buy through the Amazon links on this page, at no extra cost to you. Commission never decides a verdict or a ranking position — read our editorial policy and affiliate disclosure.
Short answer
Turn the power off at the breaker. Fit the sink flange on plumber's putty and clamp the mounting assembly from below. Wire or plug in the unit. Lift it onto the mounting ring and lock it. Fit the discharge tube to the P-trap. Knock out the dishwasher inlet plug if a dishwasher connects. Run water and check every joint.
Tools and parts
- Plumber's putty for the sink flange — putty, not silicone
- A screwdriver and pliers; the wrenchette supplied with the unit
- The discharge tube and gasket supplied, plus a P-trap kit if reworking the drain
- A bucket, rags and a torch
- A paint tin or a couple of books to support the unit while you turn the mounting ring
- A power cord kit if the unit does not have one attached, and wire nuts if hardwiring
The installation
Switch off the circuit at the breaker
Then test that the outlet or the existing disposal is dead before going further.
Remove the old drain assembly and clean the opening
Take out the basket strainer or old flange, then scrape every trace of old putty from the sink opening. A new seal needs bare material.
Bed the new sink flange on plumber's putty
Roll the putty into a rope, press it under the flange lip, and seat the flange in the opening with firm even pressure.
Fit the backup ring and mounting assembly from below
Slide the fiber gasket, backup ring and mounting ring up the flange, fit the snap ring, then tighten the three screws evenly until the flange is clamped tight.
Wire the disposal, or fit the cord kit
On the bench, with the unit upside down: open the base plate, connect line, neutral and ground, and close it. Much easier now than overhead.
Knock out the dishwasher inlet plug — if and only if a dishwasher connects
Tap the molded plug out from inside the inlet with a screwdriver and remove the piece. Leave it in place if no dishwasher connects, or the inlet will leak.
Lift the unit onto the mounting ring and lock it
Support it on a paint tin, align the three tabs with the ring, and turn until it locks. Turn it so the discharge outlet faces the trap.
Fit the discharge tube and connect to the P-trap
Gasket, flange, two screws, then the slip joint to the trap. The tube must fall toward the trap — if it has to rise, the trap needs to move.
Connect the dishwasher drain hose if applicable
Onto the inlet nipple with a clamp, with a high loop or air gap per local code so drain water cannot siphon back.
Restore power, run water and test
Fill the bowl, run cold water, switch the unit on, and check the flange, the discharge joint and the trap with a dry hand. Check again the next day.
The trap geometry, which is where installs go wrong
A disposal's discharge outlet sits lower than a sink's original tailpiece, so the horizontal run from the unit to the trap has less height to work with. Water must run downhill from the outlet into the trap. If the outlet ends up level with or below the trap arm, the drain will not clear and the fix is moving the trap, not tightening the joints harder.
This is exactly why the pre-purchase measurement matters. Take it from the underside of the sink to the center of the trap arm and compare it against the unit's overall height — see disposal sizing and fit.
Branch: double-bowl sinks
The disposal goes under one bowl and the other bowl drains into the same trap through a tee. Convention puts the disposal on the side away from the dishwasher connection. The second bowl's tailpiece joins the tee above the trap, and the whole assembly has to keep falling toward the trap — a double-bowl disposal install is the one most likely to need the trap repositioned.
Quick picks
Tap any row to jump to the full write-up. There are no scores here because we run no test lab — how picks are chosen is published in full on our methodology page.
| # | Product | Best for | Our read | Price |
|---|---|---|---|---|
| 1 | 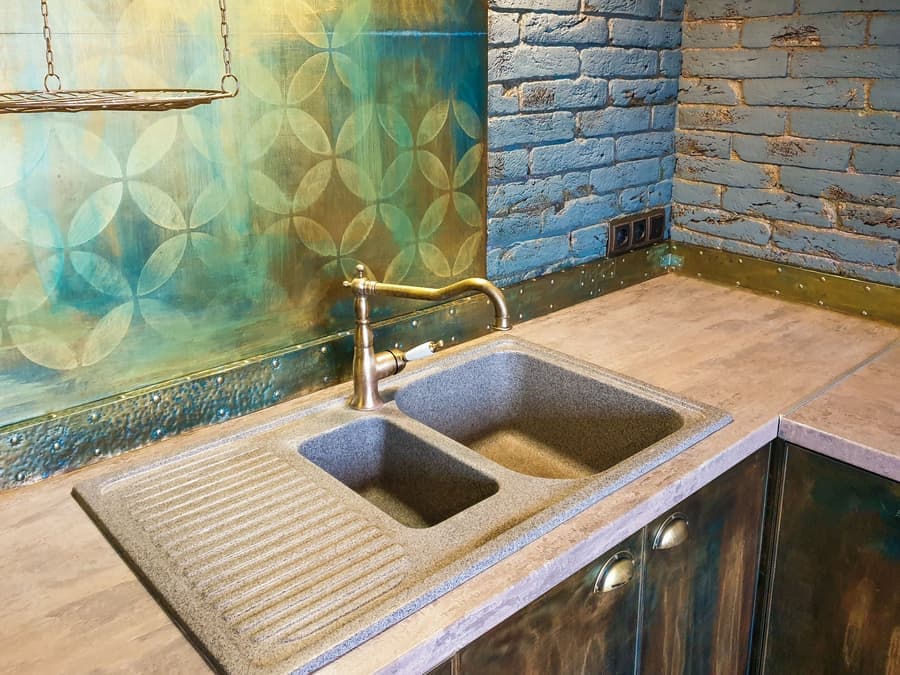 InSinkErator Evolution .75HP Best unit to fit | Households of three to five | 12.25 inches tall, EZ Connect cord in the box | Check price on Amazon #ad Affiliate link · We publish no price; Amazon shows the current one |
| 2 | 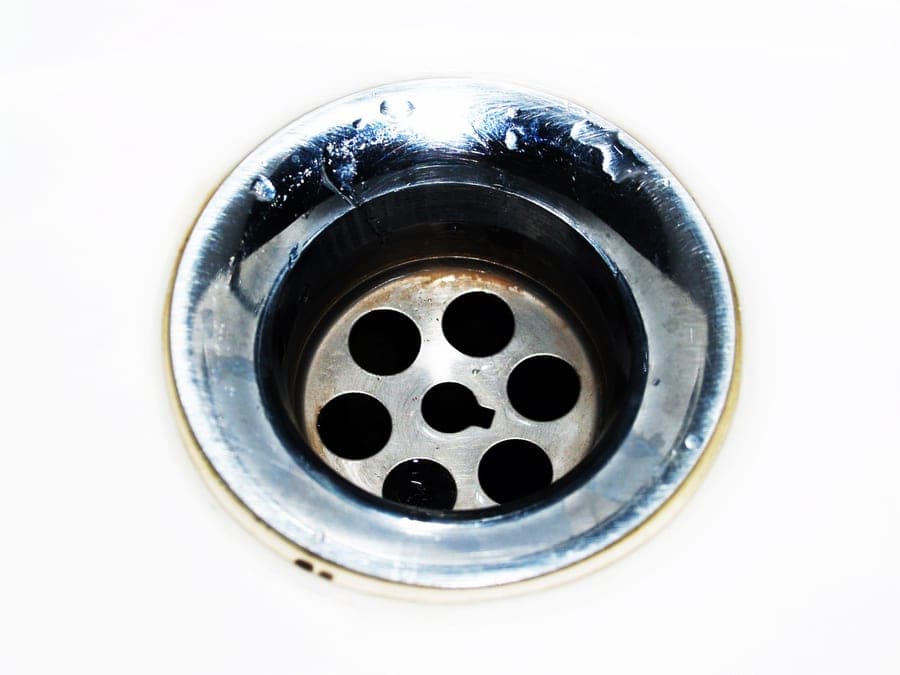 Waste King Legend L-8000 Easiest to lift into place | Value 1 HP with a cord fitted | 11.94 lb and a pre-attached power cord | Check price on Amazon #ad Affiliate link · We publish no price; Amazon shows the current one |
| 3 |  InSinkErator SinkTop Switch (dual outlet) If there is no wall switch | Kitchens with no wall switch | Air switch — no mains voltage at the button | Check price on Amazon #ad Affiliate link · We publish no price; Amazon shows the current one |
Branch: no wall switch
Two options. Fit an air switch: a button in the countertop or a spare sink deck hole, pushing air to a relay module that the disposal plugs into, with no mains voltage at the button. Or buy a batch-feed disposal, which starts from its own cover and needs no switch at all. Both are covered on air switches explained and continuous feed vs batch feed.
Photograph shows the product category, not this specific unit. We do not republish manufacturer product photography.
1. Best unit to fit
InSinkErator Evolution .75HP
InSinkErator · Best for households of three to five
The disposal we would fit in most houses. Three-quarters of a horsepower with three-stage grinding and stainless grind components is the point on the range where fibrous waste stops being a gamble, and SoundSeal makes it noticeably quieter than a Badger. The nine-year in-home warranty is the longest of any InSinkErator continuous-feed unit we checked.
Published specifications
- Motor
- 3/4 HP Dura-Drive induction source
- Grind stages
- Three-stage MultiGrind source
- Grind components
- Stainless steel source
- Overall height
- 12.25" source
- Sound
- SoundSeal — quieter than a standard disposal source
- Septic
- Safe for properly maintained septic tanks source
- Warranty
- 9-year We Come to You limited service warranty source
What works
- Three grind stages and stainless components — the two specs that decide whether fibrous scraps jam
- Only three-quarters of an inch taller than a Badger 5, so it fits most cabinets that took one
- Nine-year in-home warranty, which is a real statement about expected service life
- EZ Connect cord and hardwire adapter in the box, so it suits either wiring situation
What does not
- InSinkErator publishes no decibel figure, and neither do we — SoundSeal is a comparison, not a measurement
- 3/4 HP still stalls on bones and fruit pits; no domestic disposal is a bone grinder
- Chamber capacity is not published for this model
Skip it if
Skip it if you are one or two people who scrape plates and little else — you would be paying for capability you will not use.
#ad Affiliate link · We publish no price; Amazon shows the current one
Raw specifications: InSinkErator’s own page for the InSinkErator Evolution .75HP.
Photograph shows the product category, not this specific unit. We do not republish manufacturer product photography.
2. Easiest to lift into place
Waste King Legend L-8000
Waste King · Best for value 1 hp with a cord fitted
A different engineering answer to the same problem: a 2800 rpm permanent-magnet motor instead of a slower induction motor with more grind stages. High speed rather than high torque, in a lighter and narrower body, with a 20-year warranty and a factory-fitted power cord. This is the value 1 HP unit.
Published specifications
What works
- 2800 rpm is the highest motor speed here; speed does the work that extra grind stages do on an InSinkErator
- Under 12 lb, which makes a one-person overhead installation genuinely possible
- Power cord pre-attached — no separate cord kit, no wiring
- A 20-year limited warranty at this price is unusual
What does not
- High-speed permanent-magnet motors are louder in character than slow induction motors, and no party publishes a comparable decibel figure
- Single-stage grinding, so output fineness is not comparable to a three-stage MultiGrind
- Waste King's parts network is smaller than InSinkErator's
Skip it if
Skip it if grind fineness matters — on a septic system, for instance, where finer output is the whole point. Three stages beat high rpm there.
#ad Affiliate link · We publish no price; Amazon shows the current one
Raw specifications: Waste King’s own page for the Waste King Legend L-8000.
Photograph shows the product category, not this specific unit. We do not republish manufacturer product photography.
3. If there is no wall switch
InSinkErator SinkTop Switch (dual outlet)
InSinkErator · Best for kitchens with no wall switch
The right way to add disposal control to a kitchen with no wall switch, because it moves no electricity: the button pushes air down a tube to a relay module under the sink. That is why it can sit in a wet countertop. It needs a 1-1/4" hole and a live outlet below, and it will not create power that is not there.
Published specifications
What works
- No mains voltage at the button, which is precisely why it belongs near a sink
- Works with any disposal, not only InSinkErator units
- Dual outlet means it can also feed an instant-hot tank later
- Installs in an existing soap-dispenser or sprayer hole on many sinks
What does not
- Needs a 1-1/4" hole — in granite or quartz that is a diamond bit and a careful hand, or a trade call
- Still needs a live outlet under the sink; it is a switch, not a power source
- One-year warranty, the shortest of anything in this registry
Skip it if
Skip it if you already have a working wall switch. It solves a missing-switch problem, not a convenience one.
#ad Affiliate link · We publish no price; Amazon shows the current one
Raw specifications: InSinkErator’s own page for the InSinkErator SinkTop Switch (dual outlet).
What to take away
- Breaker off, not just the wall switch. Every time.
- Wire the unit on the bench before lifting it — far easier than doing it overhead.
- Knock out the dishwasher inlet plug only if a dishwasher connects. Forgetting is the most common new-install fault.
- The discharge must fall toward the trap. If it cannot, the trap moves — do not tighten a bad geometry.
How we sourced this page
Every figure on this page came from one of the following. Where a manufacturer or an independent lab does not publish a number, we say so rather than estimate it.
Common questions
- How do you install a garbage disposal for the first time?
- Power off at the breaker, remove the old drain assembly, bed the new sink flange on plumber's putty, clamp the mounting assembly from below, wire the unit on the bench, lift it onto the ring and lock it, connect the discharge to the P-trap, and knock out the dishwasher inlet plug if a dishwasher connects.
- Do I need a P-trap with a garbage disposal?
- Yes. The trap holds a water seal that stops sewer gas entering the kitchen, and a disposal does not replace it. What a disposal changes is the geometry: its discharge outlet sits lower, so the run to the trap has less fall available and the trap sometimes has to be repositioned.
- How do I install a garbage disposal splash guard?
- Most splash guards push into the sink flange from above and are held by friction or a molded collar — press it in evenly until it seats. Some designs fit under the flange during installation, in which case it has to go in before the flange is bedded. Check which type you have before dismantling anything.
- Can I install a garbage disposal without a switch?
- Yes, two ways. An air switch puts a button in the countertop or a spare sink hole and moves air rather than electricity, so it needs only an existing outlet under the sink. Or buy a batch-feed disposal, which starts from its own cover and needs no switch at all.
More in Guides
Organized by task, not by date, because a faucet install guide does not go stale and should not get buried under a blog feed. Every guide includes the honest point at which to call a plumber.
Read next
How to
Replace a garbage disposal
What is reusable, what always gets replaced, and how to handle a size or brand change without re-plumbing.
Guide
Disposal sizing and fit
A height chart for common units, the two measurements to take first, and what thin or deep sinks change.
Guide
Air switches explained
How an air switch works, what it needs to be installed, and the hole-drilling question that decides whether it is DIY.
Best garbage disposal
Best garbage disposals
Five disposals compared on the three specs that actually predict performance — and the height measurement that decides fit.
Troubleshooting
Reset a garbage disposal
The reset button, the breaker and the GFCI outlet, in order of likelihood — plus what to do when there is no button.
Found something out of date, or a figure you can source better than we did? Tell us — corrections get read first. Our methodology explains how picks are made, and contact is one click away.