Guides
How to replace a garbage disposal
Replacement is not installation done twice. The old unit resists, and knowing what you can reuse decides whether this takes an hour or four.
Disclosure: we earn a commission if you buy through the Amazon links on this page, at no extra cost to you. Commission never decides a verdict or a ranking position — read our editorial policy and affiliate disclosure.
Short answer
Power off at the breaker. Disconnect the dishwasher hose and the discharge tube, support the old unit, twist it off the mounting ring and lower it out. If the new unit is the same brand you can often reuse the sink flange and mounting assembly; if it is a different brand, replace them. Then fit the new unit and reconnect.
What you can reuse, and what you cannot
| Part | Reuse? | Why |
|---|---|---|
| Sink flange and mounting assembly | Often, within the same brand | Mount designs are brand-specific; matching brands usually means the new unit twists straight on |
| Discharge tube and gasket | Replace | It comes with the new unit, and the gasket is a wear item |
| Plumber's putty under the flange | Replace if the flange comes out | Old putty will not re-seal |
| P-trap and tailpiece | Usually, if the geometry still works | Slip joints are reusable; the washers are cheap and worth renewing |
| Power cord | Yes, if in good condition and the new unit accepts it | Check the strain relief and the insulation at the entry |
| Dishwasher hose and clamp | Hose yes, clamp replace | Clamps corrode; a new one costs pennies |
The brand question decides the difficulty
Staying with the same manufacturer is the single biggest time saving available. InSinkErator's mounting assembly, for example, is common across much of its range, so replacing a Badger with an Evolution frequently means the old flange and ring stay in place and the new unit twists straight on. That removes the worst part of the job — getting the old flange out and bedding a new one.
Changing brands means the mounting assembly changes too: the flange comes out, the sink opening is cleaned back to bare material, and a new flange goes in on fresh putty. Add an hour, and add the risk that the old flange fights you.
The replacement
Switch off at the breaker and confirm it is dead
The wall switch is not sufficient — it can be miswired, and the reset button can restart the unit.
Clear the cabinet and put a bucket and towel underneath
There is water in the unit, in the trap and in the discharge tube. All of it is about to be on the cabinet floor.
Disconnect the dishwasher hose, then the discharge tube
Hose clamp first, then the two screws on the discharge flange or the slip nut at the trap.
Disconnect the power
Unplug it, or open the base plate and disconnect the wiring if it is hardwired. Note which wire went where.
Support the unit, then unlock the mounting ring
Take the weight on a paint tin or your shoulder, then turn the ring with the wrenchette or by hand and lower the unit out.
Decide about the flange
Same brand and the mount matches: leave it. Different brand, or the flange is corroded or weeping: remove it, scrape the opening clean and bed a new one on fresh putty.
Prepare the new unit on the bench
Fit the cord or wire it, and knock out the dishwasher inlet plug only if a dishwasher connects.
Lift, lock and align the discharge outlet
Onto the ring, twist to lock, and rotate the body so the outlet faces the trap with a downhill run.
Reconnect the discharge, trap and dishwasher hose
New gasket at the discharge flange, new washers at the slip joints, new clamp on the dishwasher hose.
Restore power, fill the bowl, run and check
Fill and drain a full bowl, then check the flange, discharge joint and trap with a dry hand. Check again tomorrow.
If the new unit is taller than the old one
This is the commonest upgrade problem. Going from a 1/2 HP Badger at 11-1/2 inches to a 3/4 HP Evolution at 12.25 needs three-quarters of an inch of clearance below, and a batch-feed unit at nearly 15 inches needs considerably more. If the new unit's discharge outlet ends up level with or below the trap arm, water will not run downhill and the trap has to be repositioned.
Check before you buy, not after: measure from the underside of the sink to the center of the trap arm. The method and a height table for common units are on disposal sizing and fit.
Quick picks
Tap any row to jump to the full write-up. There are no scores here because we run no test lab — how picks are chosen is published in full on our methodology page.
| # | Product | Best for | Our read | Price |
|---|---|---|---|---|
| 1 | 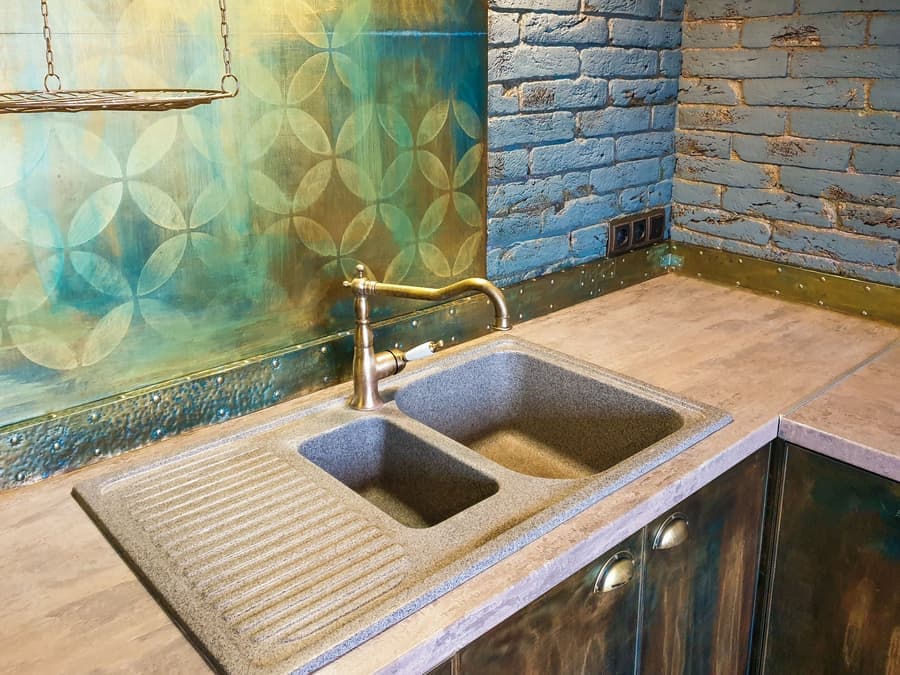 InSinkErator Evolution .75HP Best upgrade from a Badger | Households of three to five | Three stages and stainless, only 3/4 inch taller | Check price on Amazon #ad Affiliate link · We publish no price; Amazon shows the current one |
| 2 |  InSinkErator Badger 5 Best like-for-like swap | One or two people, tight cabinets | Same platform, often reuses the existing flange | Check price on Amazon #ad Affiliate link · We publish no price; Amazon shows the current one |
| 3 | 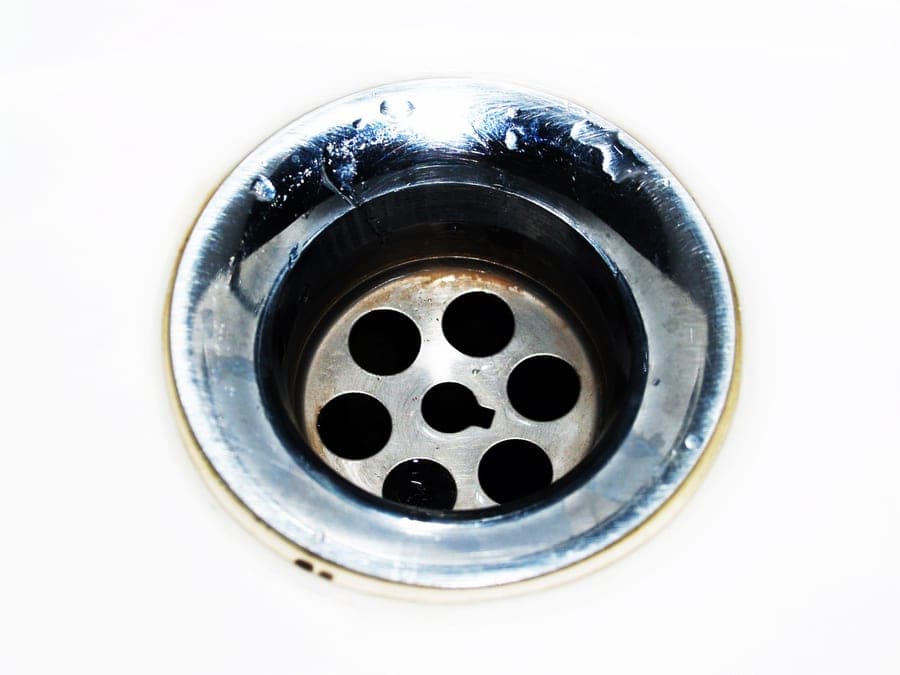 Waste King Legend L-8000 Best if you want lighter | Value 1 HP with a cord fitted | 11.94 lb, but a new mounting assembly is needed | Check price on Amazon #ad Affiliate link · We publish no price; Amazon shows the current one |
When a stuck flange wins
An old flange bedded in hardened putty, with corroded mounting screws, can be genuinely immovable. Penetrating oil on the screws and patience gets most of them. If the screws shear or the snap ring will not come off, the remaining options are cutting the flange out carefully from below — which risks the sink — or calling a plumber.
This is the point at which staying with the same brand pays for itself, because you may not need to touch the flange at all.
Replacing a splash guard while you are there
If you are keeping the flange, replace the rubber splash guard anyway. It costs a few dollars, it is the surface disposal smells live on, and a tired one is the biggest single contributor to disposal noise at the sink. It is a one-minute job with the unit off and the best-value part of the whole exercise — see quietest garbage disposals.
Photograph shows the product category, not this specific unit. We do not republish manufacturer product photography.
1. Best upgrade from a Badger
InSinkErator Evolution .75HP
InSinkErator · Best for households of three to five
The disposal we would fit in most houses. Three-quarters of a horsepower with three-stage grinding and stainless grind components is the point on the range where fibrous waste stops being a gamble, and SoundSeal makes it noticeably quieter than a Badger. The nine-year in-home warranty is the longest of any InSinkErator continuous-feed unit we checked.
Published specifications
- Motor
- 3/4 HP Dura-Drive induction source
- Grind stages
- Three-stage MultiGrind source
- Grind components
- Stainless steel source
- Overall height
- 12.25" source
- Sound
- SoundSeal — quieter than a standard disposal source
- Septic
- Safe for properly maintained septic tanks source
- Warranty
- 9-year We Come to You limited service warranty source
What works
- Three grind stages and stainless components — the two specs that decide whether fibrous scraps jam
- Only three-quarters of an inch taller than a Badger 5, so it fits most cabinets that took one
- Nine-year in-home warranty, which is a real statement about expected service life
- EZ Connect cord and hardwire adapter in the box, so it suits either wiring situation
What does not
- InSinkErator publishes no decibel figure, and neither do we — SoundSeal is a comparison, not a measurement
- 3/4 HP still stalls on bones and fruit pits; no domestic disposal is a bone grinder
- Chamber capacity is not published for this model
Skip it if
Skip it if you are one or two people who scrape plates and little else — you would be paying for capability you will not use.
#ad Affiliate link · We publish no price; Amazon shows the current one
Raw specifications: InSinkErator’s own page for the InSinkErator Evolution .75HP.
Photograph shows the product category, not this specific unit. We do not republish manufacturer product photography.
2. Best like-for-like swap
InSinkErator Badger 5
InSinkErator · Best for one or two people, tight cabinets
The baseline every other disposal is measured against, and an honest buy for a small household as long as you know what you are getting: half a horsepower, one grind stage, and galvanized steel grind components rather than stainless. It is short at 11-1/2", which is often the deciding factor in a shallow cabinet.
Published specifications
What works
- Shortest unit here at 11-1/2" — it fits cabinets a 1 HP unit cannot
- Cheapest route to a working disposal from the brand with the best parts availability
- Genuinely adequate for soft scraps: peelings, plate scrapings, coffee grounds
- In-home warranty service rather than ship-it-back
What does not
- Galvanized grind components, not stainless — this is the real difference between Badger and Evolution
- One grind stage, so fibrous waste like celery and corn husks is where it stalls
- No sound insulation of any kind, and the product page makes no noise claim
Skip it if
Skip it if you cook for four or more, or if anything fibrous goes down the drain. Buy 3/4 HP with three stages instead.
#ad Affiliate link · We publish no price; Amazon shows the current one
Raw specifications: InSinkErator’s own page for the InSinkErator Badger 5.
Photograph shows the product category, not this specific unit. We do not republish manufacturer product photography.
3. Best if you want lighter
Waste King Legend L-8000
Waste King · Best for value 1 hp with a cord fitted
A different engineering answer to the same problem: a 2800 rpm permanent-magnet motor instead of a slower induction motor with more grind stages. High speed rather than high torque, in a lighter and narrower body, with a 20-year warranty and a factory-fitted power cord. This is the value 1 HP unit.
Published specifications
What works
- 2800 rpm is the highest motor speed here; speed does the work that extra grind stages do on an InSinkErator
- Under 12 lb, which makes a one-person overhead installation genuinely possible
- Power cord pre-attached — no separate cord kit, no wiring
- A 20-year limited warranty at this price is unusual
What does not
- High-speed permanent-magnet motors are louder in character than slow induction motors, and no party publishes a comparable decibel figure
- Single-stage grinding, so output fineness is not comparable to a three-stage MultiGrind
- Waste King's parts network is smaller than InSinkErator's
Skip it if
Skip it if grind fineness matters — on a septic system, for instance, where finer output is the whole point. Three stages beat high rpm there.
#ad Affiliate link · We publish no price; Amazon shows the current one
Raw specifications: Waste King’s own page for the Waste King Legend L-8000.
What to take away
- Same brand usually means reusing the sink flange and mounting assembly, which is most of the work.
- Take the weight before unlocking the ring. An old unit full of water comes free suddenly.
- Check the height difference before buying: a taller unit can put the discharge below the trap arm.
- Replace the splash guard while you are in there. Cheapest improvement in the job.
How we sourced this page
Every figure on this page came from one of the following. Where a manufacturer or an independent lab does not publish a number, we say so rather than estimate it.
Common questions
- Can I replace a garbage disposal myself?
- Yes, for most people — it is mechanically simpler than it looks. The prerequisites are that the power can be isolated at the breaker, the unit plugs in rather than being hardwired into a junction you are not comfortable opening, and the trap geometry still works with the new unit's height.
- Do I need a new sink flange when replacing a disposal?
- Not always. Staying with the same brand often means the existing flange and mounting assembly accept the new unit, which removes the hardest part of the job. Changing brands means a new mounting assembly, and that means removing the old flange and bedding a new one on fresh putty.
- How do I replace a garbage disposal splash guard?
- With the power off, pull the old guard out of the flange — most lift straight out with a firm tug, though some are retained under the flange collar. Press the new one in evenly until it seats. It takes a minute and is the cheapest fix for both smell and noise.
- How long does it take to replace a garbage disposal?
- About an hour for a same-brand swap where the flange stays put. Two to four hours if the flange has to come out, if the old mounting screws are seized, or if the new unit's height means repositioning the trap.
More in Guides
Organized by task, not by date, because a faucet install guide does not go stale and should not get buried under a blog feed. Every guide includes the honest point at which to call a plumber.
Read next
How to
Install a garbage disposal
Flange, mounting ring, trap and electrical — plus the dishwasher inlet plug that stops a new install draining.
Guide
Disposal sizing and fit
A height chart for common units, the two measurements to take first, and what thin or deep sinks change.
Best garbage disposal
Best garbage disposals
Five disposals compared on the three specs that actually predict performance — and the height measurement that decides fit.

Head to head
1/2 HP vs 3/4 HP
What each horsepower genuinely handles by household size, and the two specs that change alongside the motor.
Troubleshooting
Reset a garbage disposal
The reset button, the breaker and the GFCI outlet, in order of likelihood — plus what to do when there is no button.
Found something out of date, or a figure you can source better than we did? Tell us — corrections get read first. Our methodology explains how picks are made, and contact is one click away.