Guides
How to install an undermount sink
The sink has to be held tight against the underside of the counter while the sealant cures. Everything else about this job is preparation.

Disclosure: we earn a commission if you buy through the Amazon links on this page, at no extra cost to you. Commission never decides a verdict or a ranking position — read our editorial policy and affiliate disclosure.
Short answer
Dry-fit the sink against the underside of the counter, build a brace from below to hold it there, apply a continuous bead of silicone to the sink rim, lift and brace it tight, fit the clips into the countertop anchors, leave it to cure for the sealant's stated time, then plumb the drain.
Before anything: can your countertop take one?
Stone, quartz and solid surface: yes. Butcher block: yes, with thorough sealing of the cut. Laminate: generally no, because the particleboard core swells where water reaches the cut edge and is not designed to carry a sink from below. Tile: awkward, because grout at the cutout is a water path. The reasoning is laid out in drop-in vs undermount.
Tools and materials
- 100% silicone sealant, in a color that will not show at the rim
- The sink's mounting clips and hardware, plus a driver to suit
- Timber offcuts and a couple of clamps or a car jack for the brace
- A drain assembly, or the disposal and flange if one is going in
- Denatured alcohol and a clean rag to degrease both surfaces
- Masking tape to mark the sink's position before the sealant goes on
The installation
Dry-fit and mark the position
Hold the sink up to the opening, center it, and mark its outline on the underside of the counter with tape. You will not be able to see the position once the sealant is on.
Build the brace
Lay a board across the top of the opening and a second under the sink, and use clamps or a jack between them. The brace takes the sink's whole weight while the sealant cures.
Fit the drain assembly to the sink first
Doing this on the bench rather than lying under the cabinet is the single biggest time saving in the job. If a disposal is going in, fit the flange now.
Degrease both mating surfaces
Denatured alcohol on the sink rim and the underside of the counter. Silicone will not bond reliably to a dusty or oily surface.
Apply a continuous bead of silicone
One unbroken bead around the sink rim, about 6 mm proud. A gap in the bead is a leak path into the cabinet.
Lift, position and brace tight
Bring the sink up to the marked position, hold it, and tighten the brace until the rim is compressed evenly against the counter.
Fit the mounting clips
Tighten each clip to the anchors already set in the countertop, working around the sink in opposite pairs so it stays even.
Clean the squeeze-out and let it cure
Wipe excess silicone from the visible rim while it is wet. Leave the brace in place for the cure time on the tube, not for as long as you feel like waiting.
Plumb the drain and test
Connect the tailpiece and trap, fill the bowl, then drain it and check every joint with a dry hand. Check again the next day.
Branch: quartz and granite
The anchors are the fabricator's work: epoxy studs or clip channels set into the underside of the stone. Your job is the silicone bead, the brace and the clips. Do not attempt to drill fresh anchor holes into stone with ordinary tools — that is how a countertop cracks, and a crack is a replacement rather than a repair.
Branch: butcher block
The detail that decides whether this lasts is sealing the cut edge and the underside around the opening before the sink goes in. End grain absorbs water rapidly, and once the sink is installed you cannot reach that surface again. Use a penetrating oil or a film finish per the block manufacturer's guidance, let it cure fully, then fit. Inspect the joint annually.
Branch: laminate, if you must
We would not, and the honest recommendation is a drop-in sink instead — the flange covers and seals the cut edge, which is exactly what laminate needs. If you are committed, it requires a purpose-built substrate bonded under the laminate to carry the load and keep water off the core, and at that point you are effectively rebuilding the countertop.
Quick picks
Tap any row to jump to the full write-up. There are no scores here because we run no test lab — how picks are chosen is published in full on our methodology page.
| # | Product | Best for | Our read | Price |
|---|---|---|---|---|
| 1 | 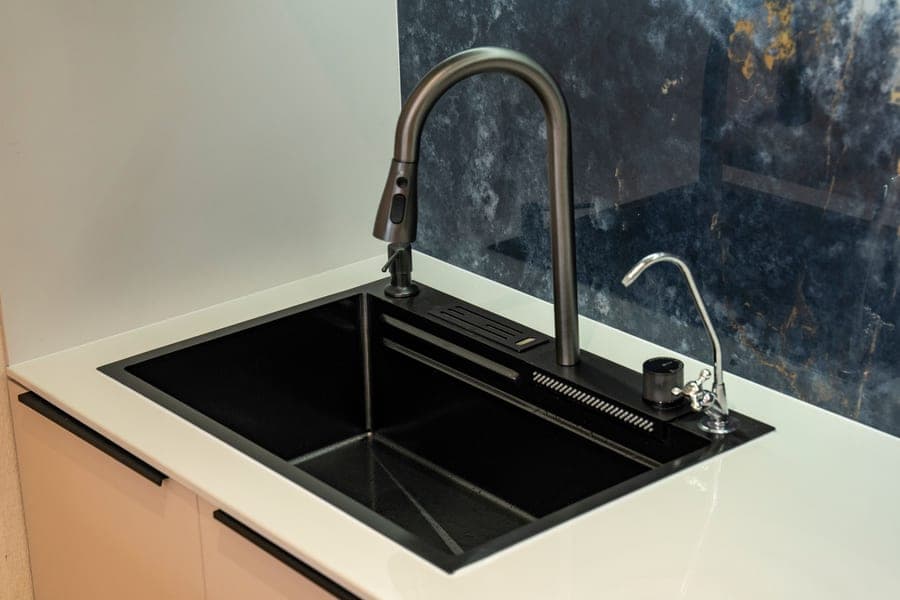 Kraus Kore KWU110-30 workstation sink Easiest undermount to fit | Small kitchens that need counter space | Supplied with a cutting template and mounting hardware | Check price on Amazon #ad Affiliate link · We publish no price; Amazon shows the current one |
| 2 |  Kohler Duostrainer K-8801 Fit this at the same time | Replacing a failed sink drain | Brass drain assembly with the tailpiece included | Check price on Amazon #ad Affiliate link · We publish no price; Amazon shows the current one |
| 3 |  Blanco Diamond Silgranit super single Heaviest of the three, brace accordingly | Hard water and visible sinks | Composite mass is what makes it quiet | Check price on Amazon #ad Affiliate link · We publish no price; Amazon shows the current one |
Overhang, reveal and why it matters
The relationship between the countertop cutout and the sink rim is called the reveal. A positive reveal leaves a visible strip of sink rim; a zero reveal aligns them; a negative reveal has the counter overhanging the bowl slightly. Negative is the nicest to wipe into and the least forgiving of any error, which is why fabricators usually aim for a small positive reveal.
Photograph shows the product category, not this specific unit. We do not republish manufacturer product photography.
1. Easiest undermount to fit
Kraus Kore KWU110-30 workstation sink
Kraus · Best for small kitchens that need counter space
The workstation sink we would buy, and the clearest case for 16-gauge steel anywhere in this category: a ledge sink is the one configuration where basin flex is genuinely audible, because accessories rest on the rim and transmit it. Ten inches deep, rear-offset drain, and the grid, mat, board and strainer are in the box rather than a $200 upsell.
Published specifications
- Overall size
- 30" x 19" source
- Bowl size
- 28" x 16" source
- Bowl depth
- 10" source
- Gauge
- 16-gauge stainless steel source
- Minimum cabinet
- 33" left to right, 24" front to back source
- Drain
- Rear offset, 3-1/2" opening source
- Sound damping
- NoiseDefend pads covering over 80% of the basin, plus undercoating source
- Warranty
- Kraus limited lifetime source
What works
- The integrated ledge turns a 30-inch sink into prep counter, the best single trade available in a small kitchen
- Rear-offset drain leaves usable cabinet space under the front of the sink
- Genuine 16-gauge with pads over 80% of the basin — gauge and damping do different jobs, and this sink has both
- A 3-1/2" drain opening takes a standard disposal flange with no adapter
What does not
- Needs a 33-inch cabinet for a 30-inch sink — measure before ordering
- A 10-inch deep bowl is a long reach for a shorter person
- The accessories are the reason to buy it and also the reason it costs more than a plain undermount
Skip it if
Skip it if your run of counter is already generous — you would be paying for prep space you do not need, and a plain 18-gauge undermount will serve.
#ad Affiliate link · We publish no price; Amazon shows the current one
Raw specifications: Kraus’s own page for the Kraus Kore KWU110-30 workstation sink.
Photograph shows the product category, not this specific unit. We do not republish manufacturer product photography.
2. Fit this at the same time
Kohler Duostrainer K-8801
Kohler · Best for replacing a failed sink drain
The permanent answer rather than the drop-in one: a full basket-strainer assembly with the tailpiece included, so it replaces the drain hardware instead of sitting in it. The basket both catches debris and holds water for soaking, which is the pair of jobs a silicone mesh screen cannot do.
Published specifications
What works
- Brass body rather than plated steel, which is what makes a drain assembly last
- Tailpiece included, so the install is one part rather than three
- The stopper seals well enough to soak a pan, which a mesh screen cannot
- Fits both 3-1/2" and 4" outlets, covering nearly every stainless sink
What does not
- It is a drain replacement, not an accessory — budget thirty minutes and plumber's putty
- Finish matching to a faucet is approximate across brands
- Overkill if your existing drain is sound and you only want to catch peelings
Skip it if
Skip it if your drain works and you only want to keep food out of the disposal. Buy the silicone screen and keep the difference.
#ad Affiliate link · We publish no price; Amazon shows the current one
Raw specifications: Kohler’s own page for the Kohler Duostrainer K-8801.
Photograph shows the product category, not this specific unit. We do not republish manufacturer product photography.
3. Heaviest of the three, brace accordingly
Blanco Diamond Silgranit super single
Blanco · Best for hard water and visible sinks
The granite composite sink that answers the material's usual objection. Silgranit is up to 80% ground granite in an acrylic binder, and what it does better than stainless is hide everything: no water spots, no visible scratch pattern, no dent from a dropped pan. What it does worse is take a screaming-hot pan straight off the burner.
Published specifications
What works
- Hides limescale and water spotting better than any stainless finish — the reason to choose it in hard water
- Color runs through the material, so a scratch does not expose a different substrate
- Quieter than stainless without added pads, because the mass does the damping
- A 9-1/2" bowl is deep enough to lay a sheet pan flat
What does not
- Composite is not stainless: thermal shock is a real limit, so a very hot pan goes on a trivet
- Light colors show tea and turmeric staining more than dark ones
- Blanco publishes no thermal-limit figure, so we will not print one
Skip it if
Skip it if you routinely dump hot pans and boiling stock straight into the sink. Stainless tolerates that; composite is the wrong tool for it.
#ad Affiliate link · We publish no price; Amazon shows the current one
What to take away
- Fit the drain assembly to the sink on the bench before the sink goes up. It is the biggest time saving available.
- The brace is the job. Compress the rim evenly and leave it for the sealant's full cure time.
- Seal butcher block's cut edge before installation — afterwards you cannot reach it.
- Do not drill fresh anchors into stone yourself. A cracked countertop is a replacement.
How we sourced this page
Every figure on this page came from one of the following. Where a manufacturer or an independent lab does not publish a number, we say so rather than estimate it.
Common questions
- How do you install an undermount sink in a quartz countertop?
- The countertop fabricator sets the anchors into the underside of the stone. You degrease both surfaces, apply a continuous silicone bead to the sink rim, brace the sink tight against the counter from below, fit the mounting clips to the anchors, and leave the brace in place for the sealant's full cure time.
- Can you install an undermount sink in a laminate countertop?
- Not reliably. Laminate's particleboard core is exposed at the cutout and swells where water reaches it, and it is not built to carry a sink from below. It can be done with a purpose-built substrate, but at that point you are rebuilding the countertop, and a drop-in sink is the correct answer.
- How do you install an undermount sink without clips?
- Some installations rely on a continuous silicone bond plus a supporting frame or rails built into the cabinet beneath the sink, which carries the weight rather than the counter. It is a legitimate method and the frame must be solid, because silicone alone is a seal rather than a structural fixing.
- How long does the silicone need to cure before I use the sink?
- Use the cure time printed on the tube rather than a rule of thumb — typically 24 hours for a full cure on 100% silicone, and longer in cold or humid conditions. Leave the brace in place for that whole period; the bond is carrying part of the sink's weight.
More in Guides
Organized by task, not by date, because a faucet install guide does not go stale and should not get buried under a blog feed. Every guide includes the honest point at which to call a plumber.
Read next
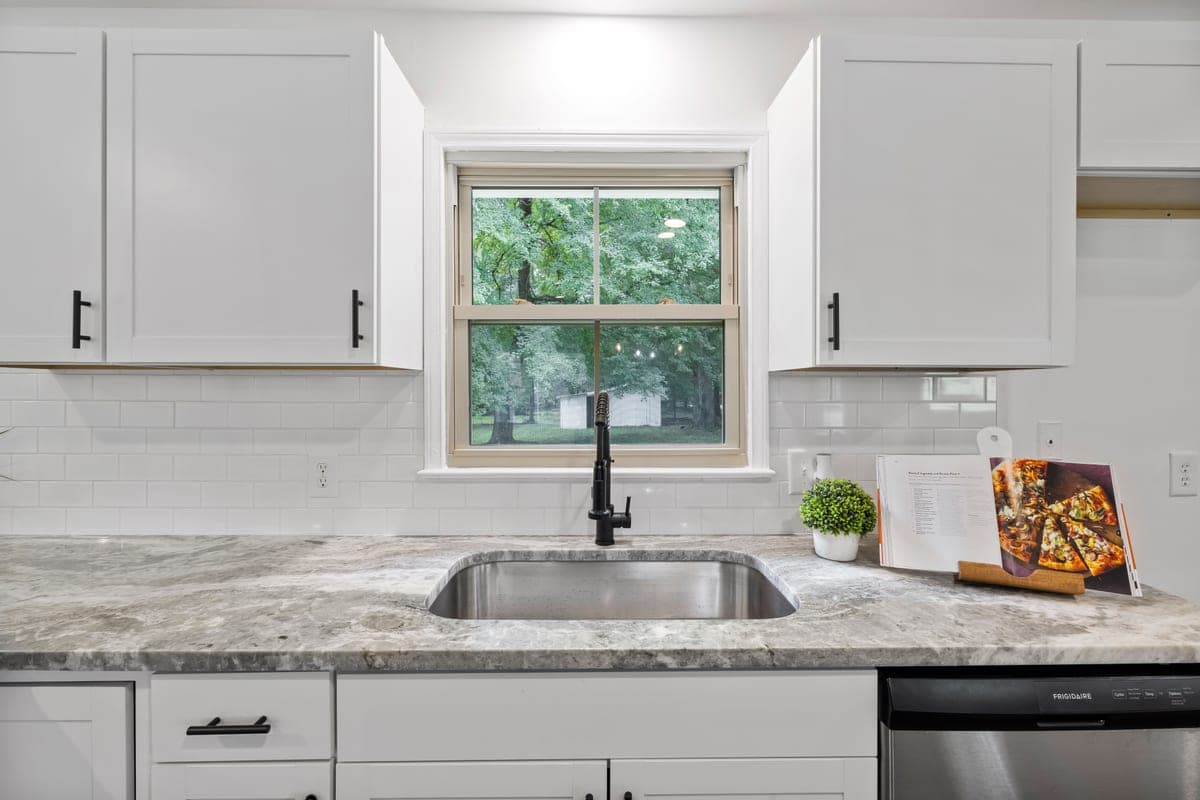
Best undermount sink
Best undermount sinks
Undermount picks by material, and the countertop question that decides whether an undermount sink is possible in your kitchen.
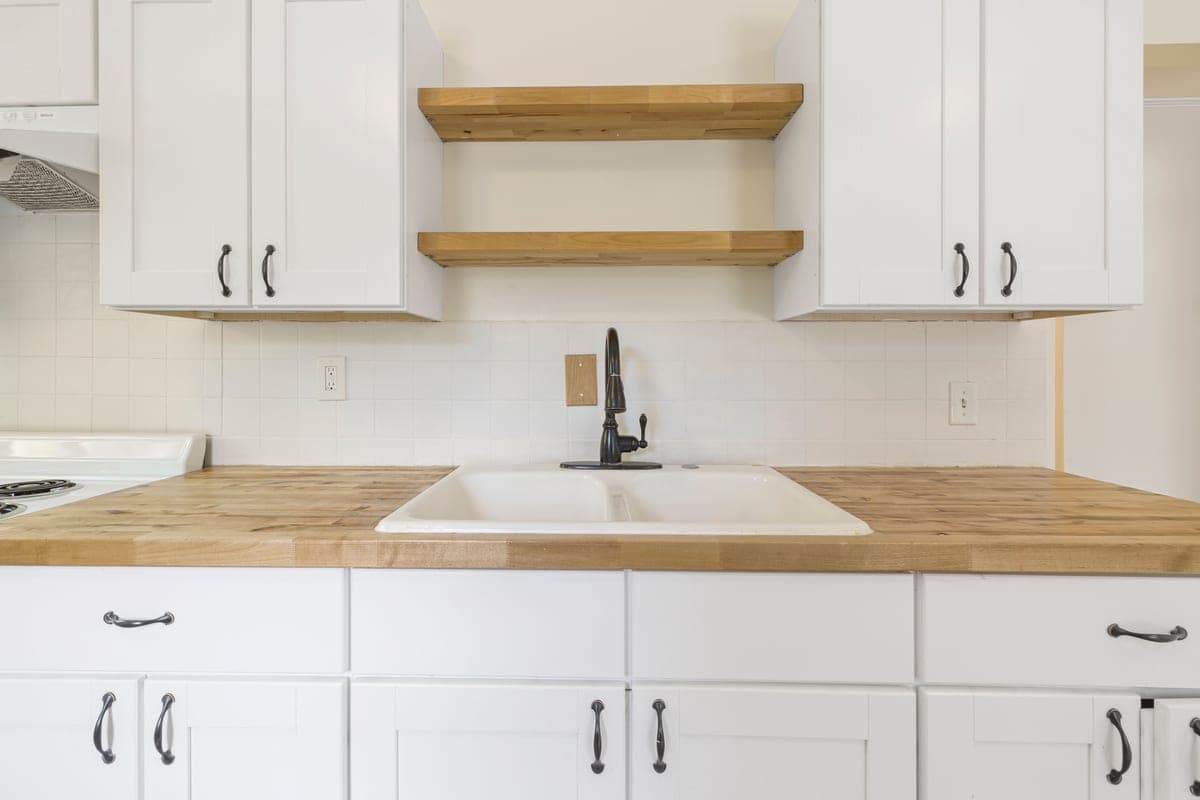
Head to head
Drop-in vs undermount
A pros and cons table, what each countertop material can take, and the real cost of converting from one to the other.

Guide
Sink sizes and cabinet fit
The cabinet-to-sink arithmetic, the four measurements to take, and how a disposal changes the numbers.

How to
Install a garbage disposal
Flange, mounting ring, trap and electrical — plus the dishwasher inlet plug that stops a new install draining.
Head to head
16 gauge vs 18 gauge
16 gauge is 25% thicker steel. What that buys, what it does not buy, and why sound-deadening coverage is the spec nobody advertises.
Found something out of date, or a figure you can source better than we did? Tell us — corrections get read first. Our methodology explains how picks are made, and contact is one click away.